
Quick Help
How to Access the Andover Web.Client:
Use the login steps found here, https://fmd.uga.edu/accesscontrol/andover_web_client_logon_steps, to connect to the Andover Web.Client.
Schedules:
After logging in, select Schedules under the All Objects drop down menu at the top left by clicking the white upside down triangle icon, then click Search. If you leave the asterisk in the search box and click on the search button, it will show all of your schedules. Click the schedule you would like to adjust.
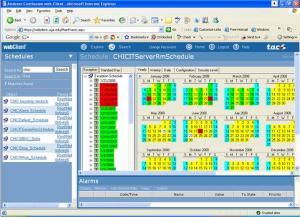
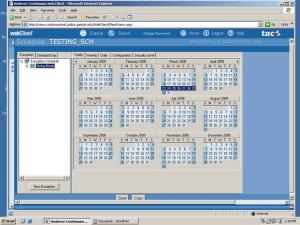
Click on the Standard Day tab at the top left of the schedule display. You should see Weekly Schedule which lists Sunday through Saturday. You can adjust your normal everyday schedule by right clicking and editing the day of the week. If you want to change the unlock time, choose the active time and click edit. If you want to change the lock time, chose the inactive time and click edit. Make sure to always click Save at the bottom of the schedule window.
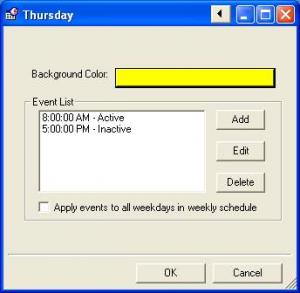
If you would like to adjust a specific day, you can double click that day, and depending on whether you are changing the start time or end time, pick what you want to adjust and drag the line to the new time. Make sure to always save after every change. If you would like to make a certain day a holiday then right click on that day and choose Assign a User Defined Standard Day > Holiday.
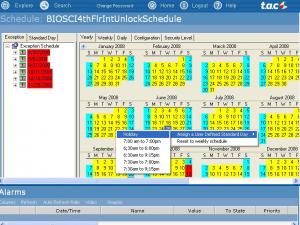
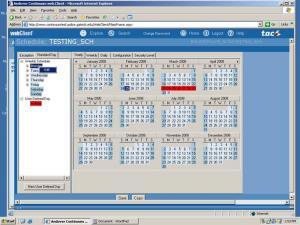
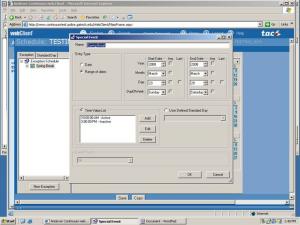
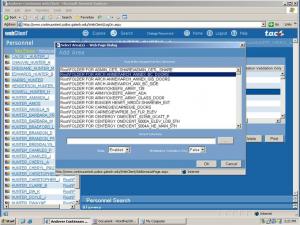
To create a schedule exception, right click on Exception Schedule on the left and choose New Exception. First, set the name of the exception event. Either choose a single day or a consecutive range of dates. Choose the year, month and days. Under Time Value List click Add and choose the time you would like your new event to start. Add the value of active and click ok. Click Add again and choose the time you would like your new event to end and set it to inactive.

Under the All Objects drop-down on the left menu, choose Personnel. Click Advanced
Search and then choose what type information you want to use to search for a person.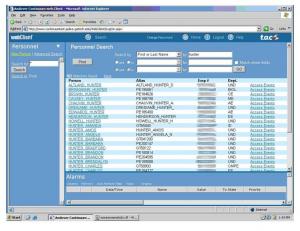
Choose the person for which you would like to add or remove area(s). Once the record opens, choose the Area Info tab.
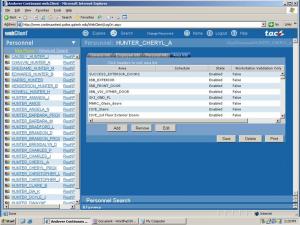
Click Add and select the areas you would like to add access to. If you need to attach a personnel schedule then click on the ellipses beside the Select Schedule box and choose the appropriate schedule. Once you have selected the areas to add and clicked Ok make sure to click Save. To remove areas, select the areas and hit Remove. Always save after changes.
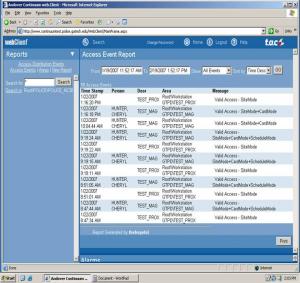
In order to run reports navigate under the All Objects drop-down menu on the left and choose Reports. Under reports choose access events. This will bring up the window where you put your range of dates to check. Enter your start date and end date and click ok. This will give you a list of valid as well as invalid access to your areas.
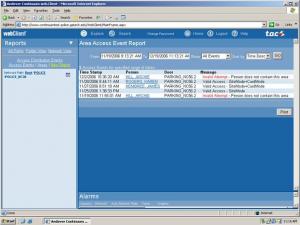
If you would like to see access for individual areas, click Areas under Reports. This will show you your areas. You can then choose which area you would like to view and click Access Events on that line. Enter your start and end date and then click ok.
If you have any questions, please feel free to email accesscontrol@uga.edu for assistance.